Better Black & White


The more time i spend with my camera, the more I realize how much I love black and white photography. There is something striking and timeless about monochrome images that just does it for me in a way that color hasn’t been able to do yet. I feel like color can often distract from the overall feeling and energy of a photo, and I never noticed that before I started experimenting with black and white.
The photos you see here are certainly NOT interesting or ‘good’ by any stretch of the imagination (they’re all pretty bad actually), and I’m definitely not showing them off as good black and white photography… they are just sample shots from my teaching experiment this past weekend. My favorite shot from that experiment is here, but please read on if you’re interested in what I learned about shooting in black and white.
I did a lot of online research to learn how to take better black and white photos (Steve Huff’s blog is excellent), and I came across an overwhelming about of information that made my head spin for a few minutes. I read about converting color images to monochrome to preserve the ability to edit specific color channels. I read about shooting in monochrome mode and using external color filters. I read about shooting in RAW and using post-processsing software to get the right look and feel for the photo. I even read about using a monochrome-only camera that does nothing but black and white, and how that resembles what everyone believes to be the gold standard for black and white photography… old school non-digital film.
I took the majority of a day this past weekend and experimented with as many techniques that I had access to with the equipment I have, and at the beginning of my experiment I was really worried that I was going to have to change my whole style of shooting. I’ve come to love the idea of keeping my shots as pure as possible, and I don’t do any post processing. In fact, I don’t even shoot RAW because that might tempt me to start processing. The art of photography, for me at least, is all about capturing a moment in time just as you see it, and as you want others to see it. For me that involves selecting the proper equipment, knowing how to use it to get the shot your looking for, anticipating your composition before you put the camera to your eye, and using the available lighting to get the photo. The idea of taking a million photos of your subject as quickly as possible so that you can upload them to your computer and turn them into whatever you feel like later by cropping, processing, converting, photoshopping, etc etc etc, just doesn’t seem very artful to me. I’m not criticizing that method whatsoever because art really is in the eye of the beholder and you have to do what works for you. I’m only mentioning the difference in philosophies as a tribute to what I discovered during my black and white experiment… having options is a good thing for black and white shooting.
I haven’t felt the need to have options when I’m shooting color photos in a long time. Before I knew my camera well, I did, but now that I have a good feeling for how the LCD displays colors, and for how my in-camera color profiles translate in the final image, I feel very comfortable going after one specific shot, getting it, and moving on to the next one without preserving any other options. I spent a lot of time in the past shooting 3-5 bracketed exposures of every image, and outputting RAW and JPEG’s of each, but I found myself spending more time viewing and organizing all of the extra images than actually enjoying the one image that I knew I was after in the first place. After a while, I realized that all the extra work wasn’t necessary and I stopped shooting RAW and multiple exposures altogether, and went back to do everything I can to get the exact shot I want in one attempt. I read somewhere that Nat Geo photographers, whom I consider to be in a league of their own, are prohibited from post processing of any kind and that all of their photos have to be submitted straight out of their cameras. After reading that, I decided that I wanted to hold myself to that standard as well. I’ll straighten an image if it needs it, and I’ll crop an image to a square format if that tells the story of the photo better, but that’s it.
Now, on to what I learned about taking black and white photos…
I learned that options are the key to taking black and whites, not processing or filters or special equipment… just options. Assuming that you know how to get yourself in the ballpark of proper exposure so that your image isn’t way too dark or full of blown out highlights, it’s all about having a few different options to choose your favorite image from. This is where black and white photography is different from color photography for me. When you’re looking at the world in color, the color itself tells the story and provides the feeling for the photos, so as long as you nail the colors you’re trying to capture in your photo, you’re good. When you look at the world in black and white, there are so many different things that can change the look, feel, and presentation of your image… the bright highlights, the deep dark shadows, and the unlimited shades of grey in between. The LCD screen on my camera is more than adequate to judge whether or not I’m happy with colors and composition, but it’s just not large enough, at least for my eyes, to judge whether or not I got the best black and white image for the story I’m trying to tell.
So, here’s what I started doing for black and white shooting:
- I shoot in Monochrome mode. I read plenty of advice that says this is the wrong way to shoot black and white, but after running a few experiments of my own, I’m not sure the other recommendations are worth the trouble. The way most photogs recommend is shooting in color with RAW output, and then converting that image to B&W with your processing software. This apparently allows you to retain control over the specific color channels that still exist within a black and white image if it was originally shot in color, and that apparently gives you more options for processing the image the way you want it to look. I spent hours experimenting with these color channels on several different photos that I converted to B&W, and I wasn’t any happier with the results. I’m sure that part of that is my inexperience with the technique, but I know for a fact that I ran the gamut of available adjustments, and I know that there wasn’t any dramatic difference in the images that resulted from converting a color file to B&W vs shooting in straight monochrome mode. Plus, I personally have a hard time trying to capture moments that I’m visualizing in black and white, and then seeing a color output on my camera LCD. That’s a bit of a disconnect for me, and it interrupts my creative process for sure.

- I set the camera to RAW + JPEG. I have a new appreciation for the natural quality of the RAW files here in ways that haven’t helped me with color photos, and a also appreciate the dramatic differences that such subtle differences in exposure, contrast and visible detail have on black and whites. The RAW file is just one more subtle variation in the list of options, and it’s valuable for that reason, not because I want to have something to process.

- I bracket three shots 1/3 stops apart. I like bracketing in two situations: 1) when it’s so bright outside that I’m not confident about what I’m seeing on my LCD screen, 2) when I’m shooting black and white. I don’t intentionally underexpose the images like most RAW/processing shooters advise, but my taste in B&W photography tends towards deep dark shadows anyway so I feel that I’m safe from overblown highlights. If you aren’t sure what your taste in B&W is yet, or if you aren’t familiar with using histograms to check for blown out highlights, underexposing your images on purpose is the safest strategy since it’s easier to recover dark areas than bright areas with software. Having the subtle exposure differences from having three bracketed shots save me so much time and headache that comes from trying to accomplish the same thing from processing a RAW file. I let the camera do the work instead.

- I use the Auto Lighting Optimizer function. I normally don’t use any kind of “automatic” camera functions like this, but when I’m shooting black and white I think it is a very quick and easy way to give yourself another set of options to choose from. I shoot one set of three bracketed shots with ALO off, and then a second set of three with ALO on High. ALO is a Canon thing by the way (I used a 5DIII)… I’m not sure what this function is called on other camera lines, but I’m sure that most DSLR’s have something similar to this.

- I created a Custom User Profile for my black and white settings. This is the best thing I’ve ever done for black and white shooting. I saved a custom user profile for the above settings, and then set the M.Fn button near my shutter to toggle in and out of this profile so I can switch back and forth between black and white shooting and regular shooting in a fraction of a second.

Having an editing screen that looks like this (below) is what helped me choose the best image more than anything, and I will say that I’ve been surprised at how many times the image that I ultimately choose as my favorite is different than the one I thought it would be when I viewed them on the camera LCD. For my purposes, I have found it much easier and more enjoyable to take a step back and preview my options rather than spending hours trying to process a good image. I’m never as happy with the processed results as I am with the natural photos.

I think this setup is so much simpler and more enjoyable than worrying about color filters and spending hours in front of a computer processing your photos, but I’m also positive that there are many technical faults to be found with this strategy if you are a working pro. I’m not a pro, but I still want the best quality image I can get without spending more time in front of my computer than I do in front of my camera 🙂
If you have any other tips or tricks, I’m sure everyone reading this would love to hear them, so please feel free to leave your comments below.
 Nicholas Vendemia, M.D.
Founder & Photographer, Vaperture New York
Nicholas Vendemia, M.D.
Founder & Photographer, Vaperture New YorkVaperture.com
Photo Credit: Vaperture.com, Nicholas Vendemia
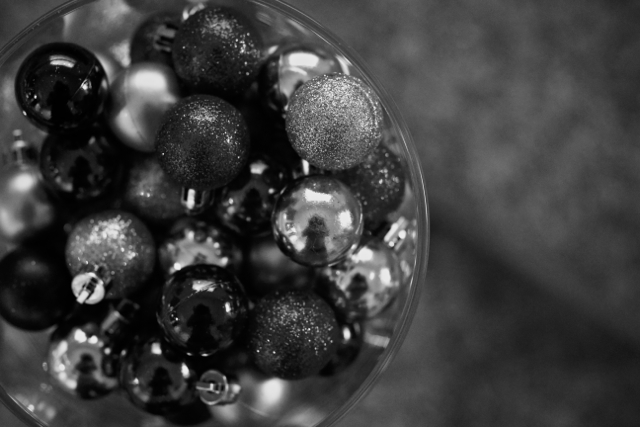
Here are a few of my favorite B&W photos (in addition to my absolute favorite on the homepage of this site)…
Zeiss 15mm f2.8 Distagon Lens | Canon 5D Mark III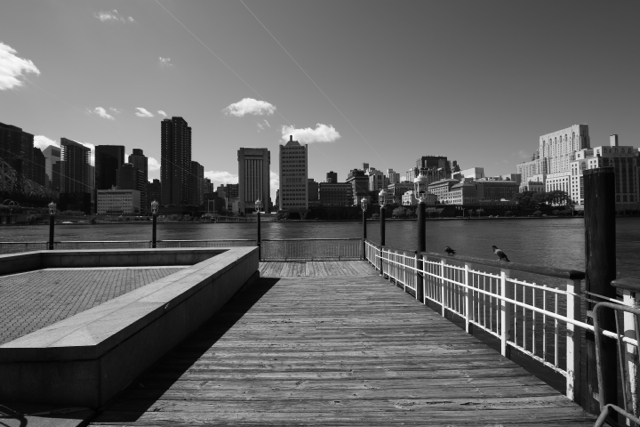
Zeiss 21mm f2.8 Distagon Lens | Canon 5D Mark III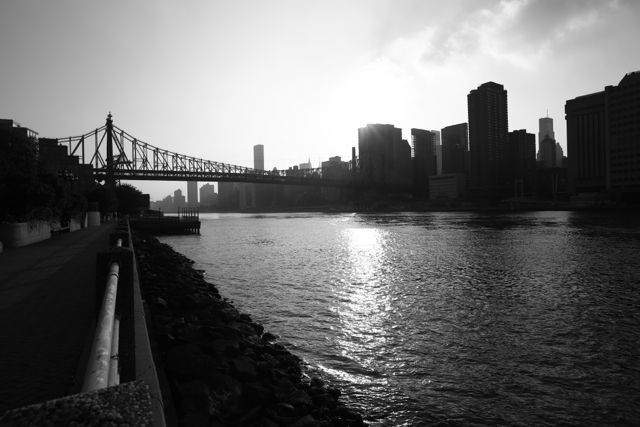
Zeiss 25mm f2 Lens | Canon 5D Mark III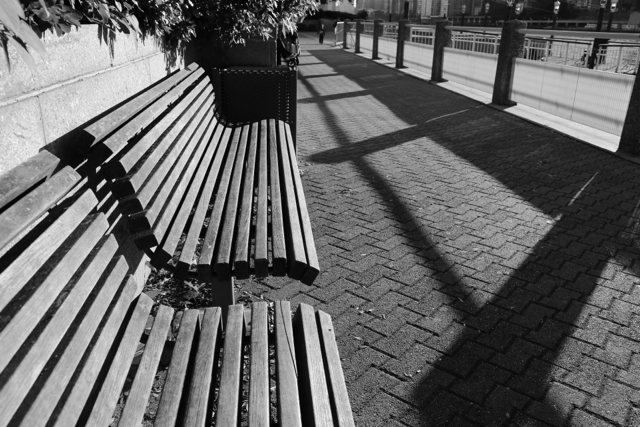
Zeiss 25mm f2 Lens | Canon 5D Mark III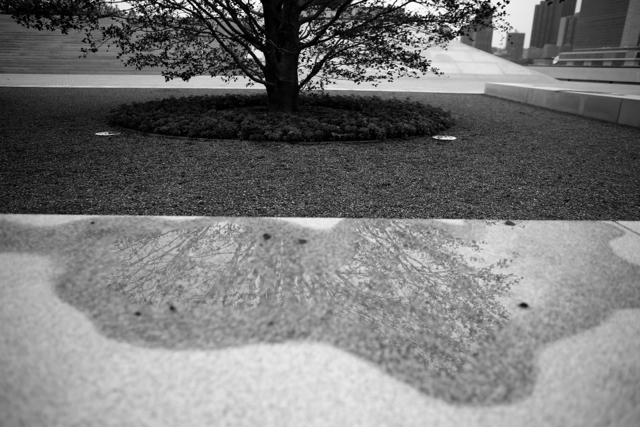
Zeiss 15mm f2.8 Distagon Lens | Canon 5D Mark III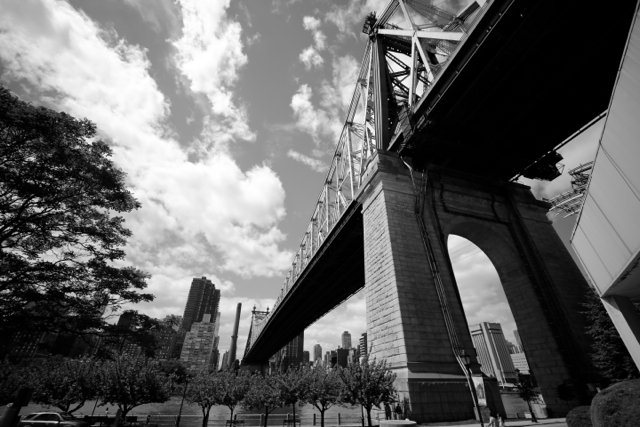
Zeiss 21mm f2.8 Distagon Lens | Canon 5D Mark III
Zeiss 135mm f2 APO SONNAR Lens | Canon 5D Mark III
Zeiss 50mm Makro-Planar Lens | Canon 1DX